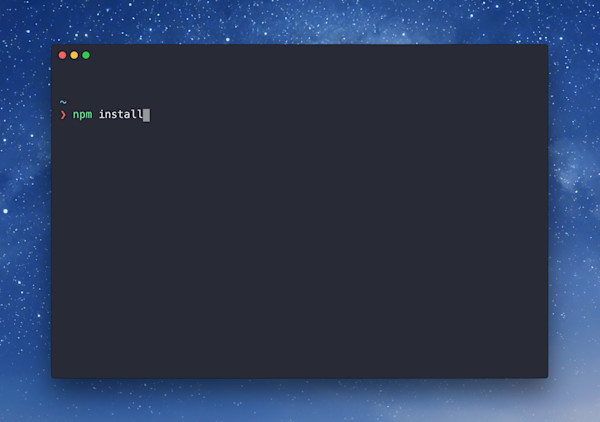
Beautiful Hyper terminal
A couple of prerequisites: Hyper, NPM and Git.
My theme of choice is hyper-snazzy. Setup of the theme is simple enough but additional features like custom prompts and syntax highlighting required some intense Googling & Stack Overflowing as I had absolutely no idea how to configure a shell. It’s worth pointing out that there are ‘managers’ available to help with this such as oh-my-zsh but I just wanted to keep things simple with minimal dependencies.
Step 1: Install Hyper theme
Open Hyper. Open Preferences (⌘ + comma). Scroll down to the plugins property. Add hyper-snazzy to the array and then save & exit. E.g.
Step 2: Install custom prompt
To replace the nasty computer name / IP address prompt with a nice arrow prompt we’ll need to customise the Z shell config file.
Firstly we need to globally install the pure-prompt package. In your terminal window run the following command:
After the package has installed, we’ll need to configure the .zhsrc file. We can do this inside the terminal window by running the following command:
ℹ️️ Note: If it whinges that this file does not exist, create it like so before re-running the above command:
Add the following to the end of the file:
Save the file by pressing ctrl + O and then enter. Close the file by pressing ctrl + X.
Step 3: Install syntax highlighting
We’ll be using the zsh-syntax-highling package to enable this functionality.
Run the following command to download the package into your user directory:
Again, we’ll need to edit the config file. Run:
Add to the bottom:
ℹ️️ Note: This must appear beneath our previous pure-prompt line
Save and exit ctrl + o and ctrl + x
Step 4: Switch from bash to zsh
This quite important step was missing from the guides I found. To actually ensure your default shell is zsh you’ll need to run:
⚠️ Important: You must log out and log back in for this to take effect (sorry)
That’s it. Cheers for reading 😀